Testing a Regenerative Fuel Cell System for Lunar Energy Storage: A Step-by-Step Guide
Introduction
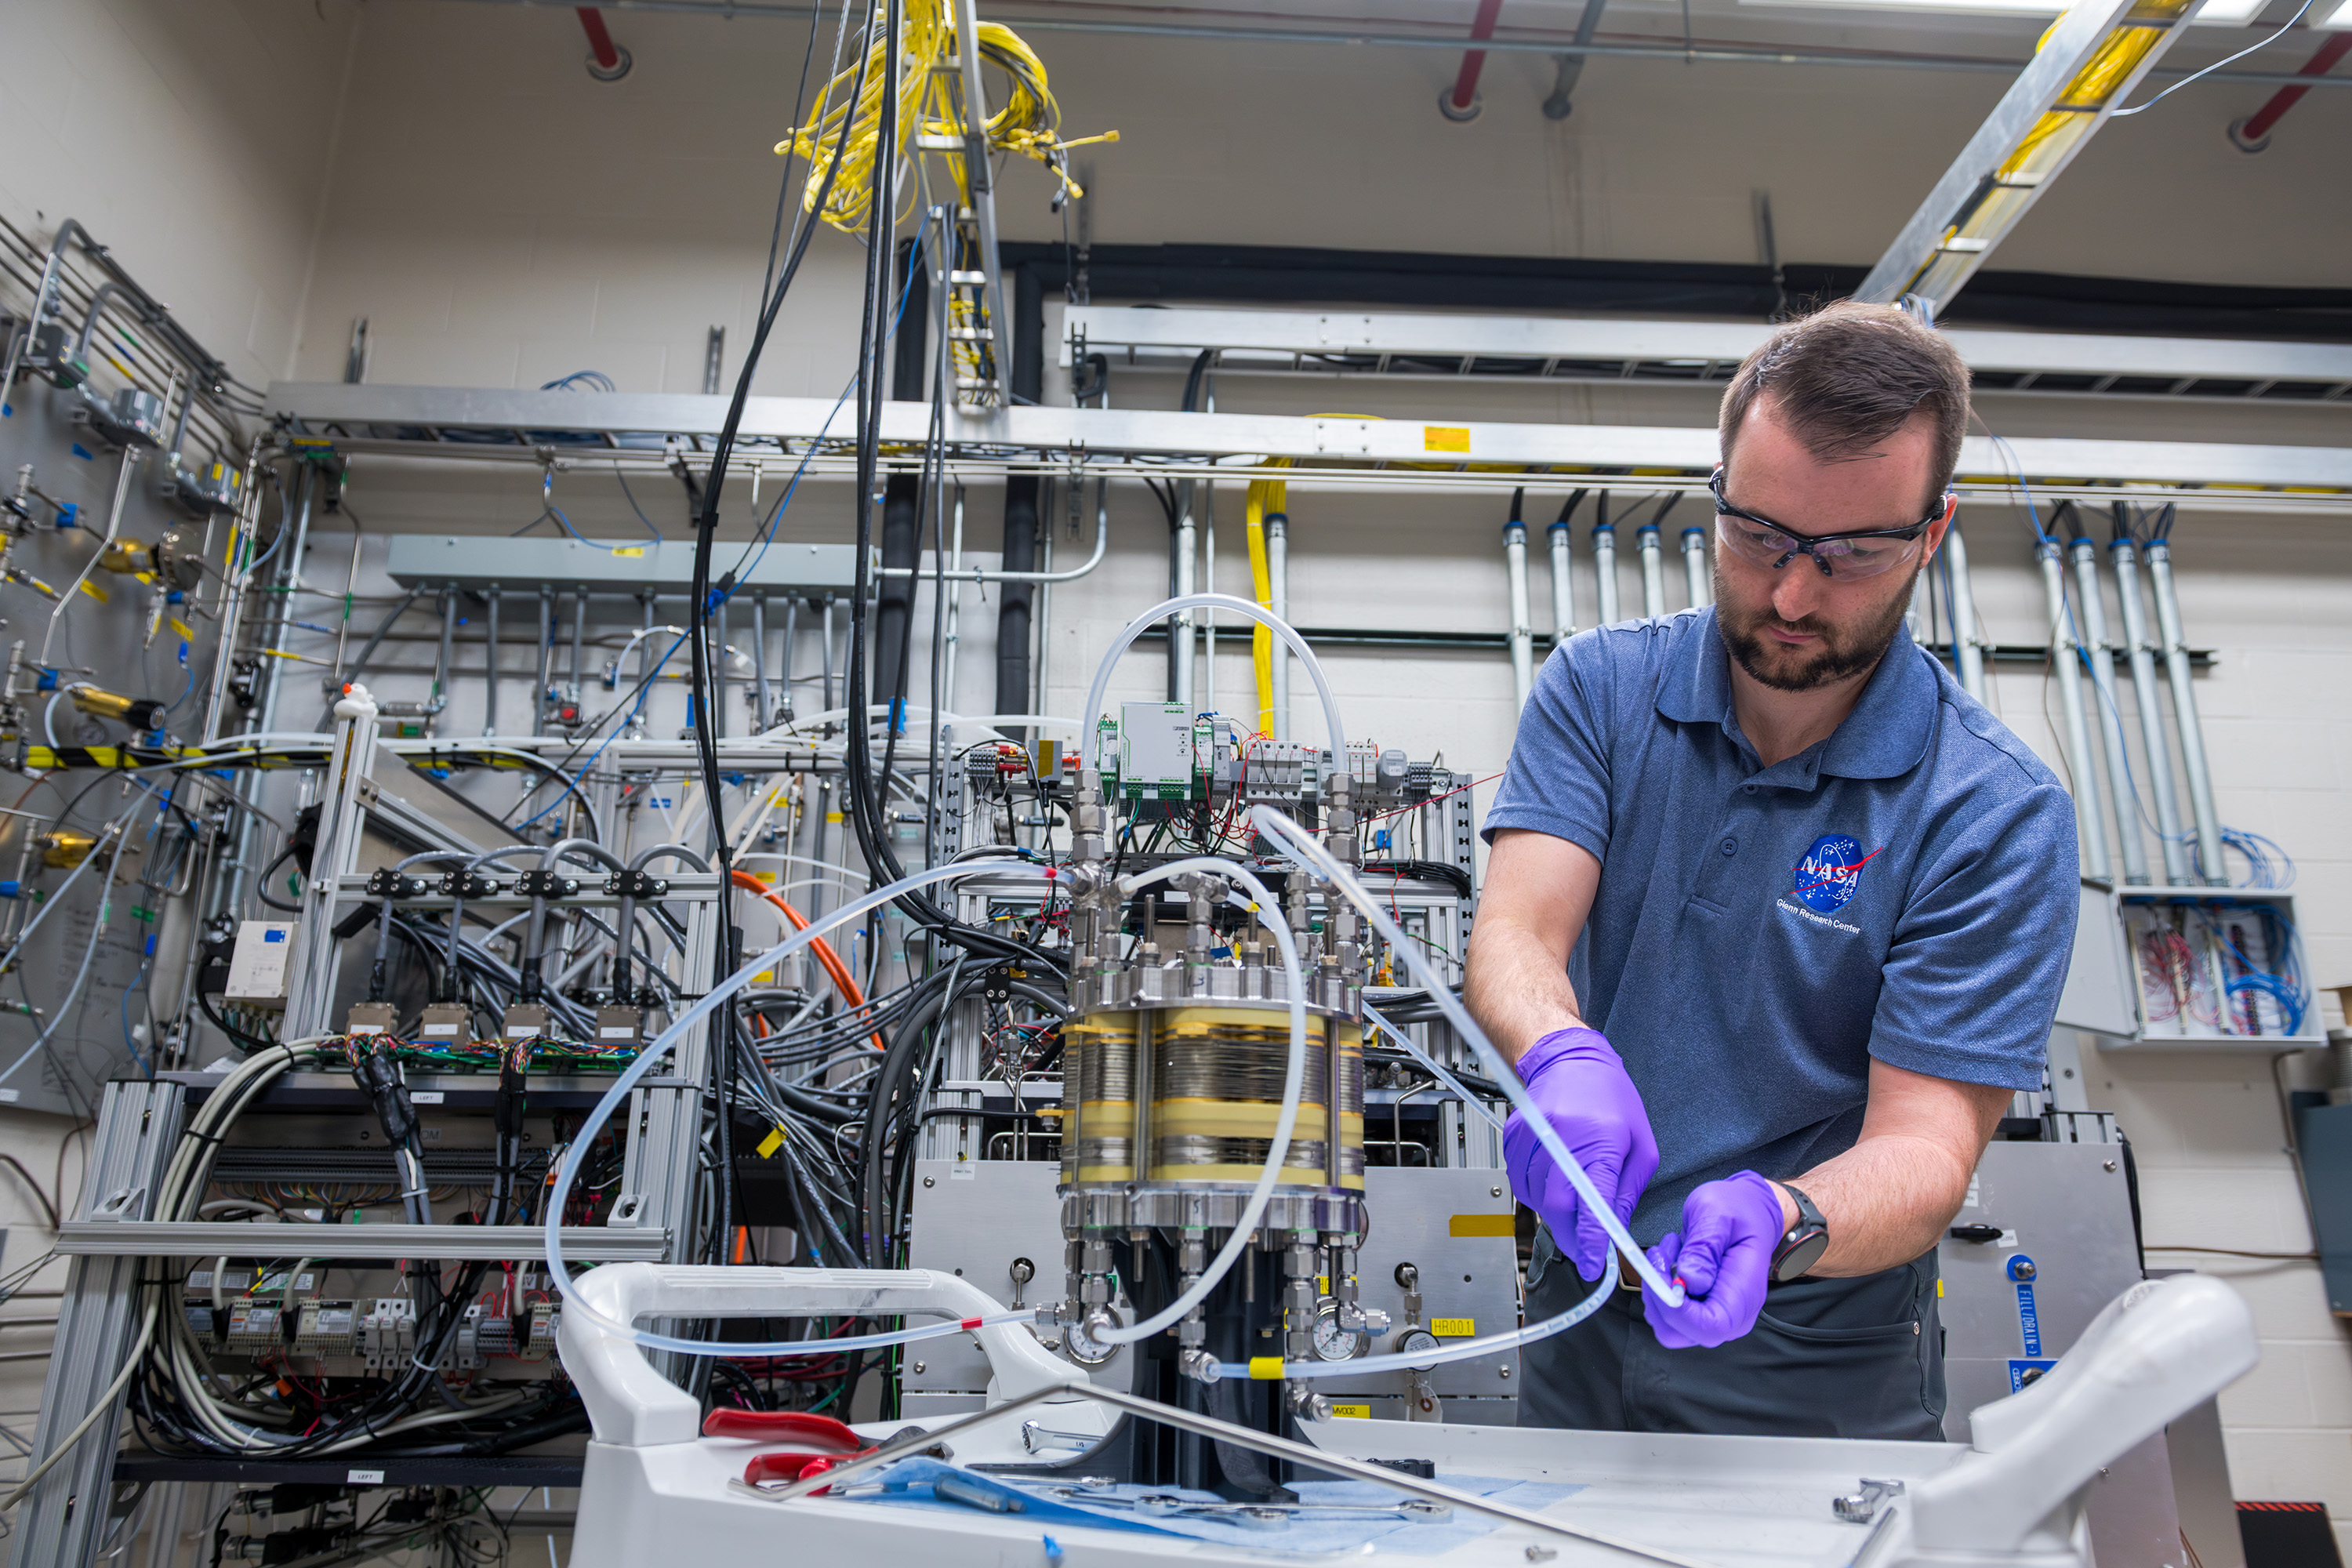
Imagine a power system that works like a rechargeable battery but weighs less, stores more energy, and can even operate during the two-week-long, pitch-black lunar nights. That's exactly what NASA's regenerative fuel cell technology promises—a breakthrough for the Artemis program and future Moon missions. This guide walks you through the process of testing such a system, based on the work of Dr. Kerrigan Cain and his team at NASA Glenn Research Center. Whether you're a researcher, an engineer, or a space enthusiast, these steps will help you understand the meticulous approach needed to validate a regenerative fuel cell for off-world energy storage.
What You Need
Materials and Equipment
- Regenerative fuel cell stack (looks like flattened silver and gold soda cans bundled together)
- Storage tanks for hydrogen and oxygen gas
- Approximately 270 sensors (pressure, temperature, flow, electrical current)
- Over 1,000 individual components (valves, pumps, tubing, wiring, control boards)
- A rectangular cart on wheels to mount the system
- Small blue crane for hoisting heavy components
- Tangle of tubes and wires for gas and electrical connections
- Water supply and deionization system (for electrolysis)
- Power supply and load banks to simulate charging/discharging
- Data acquisition system to record sensor outputs
- Safety equipment: hydrogen detectors, ventilation, fire suppression, eye wash station
Prerequisites
- Experience with fuel cells and electrolysis systems
- Familiarity with Artemis mission requirements (power profiles, lunar night constraints)
- A dedicated test cell with thick double doors for containment
- Approval from safety and engineering review boards
Step-by-Step Testing Procedure
Step 1: Prepare the Test Cell and Verify Safety
Before any hardware arrives, the test cell must be ready. Secure the thick double doors, confirm hydrogen detection alarms are functional, and ensure emergency shutdown procedures are posted. Conduct a risk assessment for handling compressed hydrogen and oxygen at high pressure. All team members should review the test plan and don appropriate PPE—lab coats, safety glasses, and gloves.
Step 2: Assemble the Regenerative Fuel Cell System Components
Position the rectangular cart on wheels inside the test cell. Using the small blue crane, hoist the cylindrical fuel cell stack and carefully lower it onto the cart. The stack contains multiple cells layered like flattened soda cans, producing about the same voltage as a single battery cell but with much higher current capacity. Attach the storage tanks for hydrogen and oxygen gas—these are the key to the regenerative aspect.
Step 3: Install the Fuel Cell Stack and Connect Plumbing
With the stack in place, connect the gas lines from the hydrogen and oxygen tanks to the respective inlets. Use high-pressure rated tubing and fittings. Similarly, connect the water line for the electrolysis mode (when the system recharges). A tangle of tubes and wires will spiral away; organize them using tie wraps to avoid kinks. Ensure each tube is labeled for its gas or liquid service.
Step 4: Wire All Sensors and Control Systems
Now integrate the nearly 270 sensors. These monitor temperature at multiple points, pressure, flow rates, voltage, and current. Connect each sensor to the data acquisition system and verify signal continuity. Attach the control wires for valves, pumps, and power electronics. The system's brain—a microcontroller with real-time control algorithms—should be programmed to switch between fuel cell mode (discharge) and electrolysis mode (charge).
Step 5: Perform Baseline Checks (Initial Testing Phase)
As done in 2025 by NASA Glenn, run a series of baseline tests without full gas storage. Power the system externally to check that the fuel cell stack produces electricity when hydrogen and oxygen are supplied. Then reverse the process: supply water and power to split it into hydrogen and oxygen. Measure the efficiency, verify gas purity, and record pressure drops. Make adjustments to alignment, seals, and control parameters based on initial data.

Step 6: Operate the Complete System in Full Regenerative Cycle
This is the major milestone. First, operate the system in fuel cell mode: feed stored hydrogen and oxygen into the stack to produce electricity, water, and heat. The electricity can be used to power simulated lunar habitat loads (lights, heaters, rovers). Then, switch to recharge mode: use surplus power (e.g., from solar panels) to electrolyze the product water back into hydrogen and oxygen, storing the gases in the tanks. Monitor that the system completes at least one full cycle without leaks or performance degradation.
Step 7: Collect Data and Identify Challenges
During each cycle, log sensor readings every second. Look for anomalies like hot spots, pressure fluctuations, or power losses. Note the efficiency of conversion—both directions. The system should demonstrate that it can store energy for later use, even through a simulated lunar night (e.g., by disconnecting the power source for 14 days while monitoring gas retention). Document any component failures or areas needing redesign.
Step 8: Iterate and Optimize for Lunar Conditions
Based on data, modify the system: adjust catalyst coatings, improve thermal management (since fuel cells produce heat), and refine control algorithms to handle rapid load changes. Test under vacuum or partial pressure conditions if possible, since the Moon has virtually no atmosphere. The goal is to reduce weight, increase cycle life, and ensure the system can survive the extreme cold and radiation of the lunar environment.
Tips for Success
- Start small. Test individual subsystems (stack, gas handling, electrolyzer) before integrating the full regenerative loop. This isolates problems.
- Monitor hydrogen safety continuously. Hydrogen is odorless and highly flammable; always use leak detectors and avoid any ignition sources.
- Design for lunar night. The system must store energy for up to 14 days without sunlight. Ensure gas tanks are well insulated and the stack can withstand thermal cycling.
- Use redundant sensors. With 1,000 components, having backup measurements on critical parameters (e.g., pressure in the hydrogen tank) is wise.
- Document everything. Future lunar missions will rely on your test data to build flight-ready hardware. Photograph each assembly step and note torque values.
- Collaborate with mission planners. Align test cycles with expected Artemis power profiles—when will astronauts need peak power? When will solar arrays be available for recharging?
- Plan for upgrades. The system is about as long as a sedan and as tall as a person. Leave room in the test cell to add more fuel cell stacks if needed to scale up power.
Testing a regenerative fuel cell is both a challenge and a thrill. By following this guide, you'll be following in the footsteps of NASA's engineers, paving the way for sustainable energy on the Moon—and eventually Mars.
Related Articles
- New CSS rotateX() Function Revolutionizes 3D Web Design
- Anxiety's Hidden Chemical Link: Brain Choline Deficiency Revealed in Landmark Study
- Decoding Reality: A Practical Guide to Bohmian Mechanics and Its Testable Predictions
- The Shifting Lights of Earth at Night: Insights from NASA's Black Marble Project
- How to Identify Landslides Triggered by Cyclone Rains Using Satellite Imagery
- How Nanobot Swarms Are Transforming Medicine and the Environment: A Step-by-Step Guide
- Quantum Sensors: The Ultra-Precise Tools Already Changing Our World
- 7 Critical Flaws in VECT Ransomware That Turn It Into a Data Wiper