How Scientists Reversed Liver Aging Using Young Gut Bacteria: A Step-by-Step Protocol
Introduction
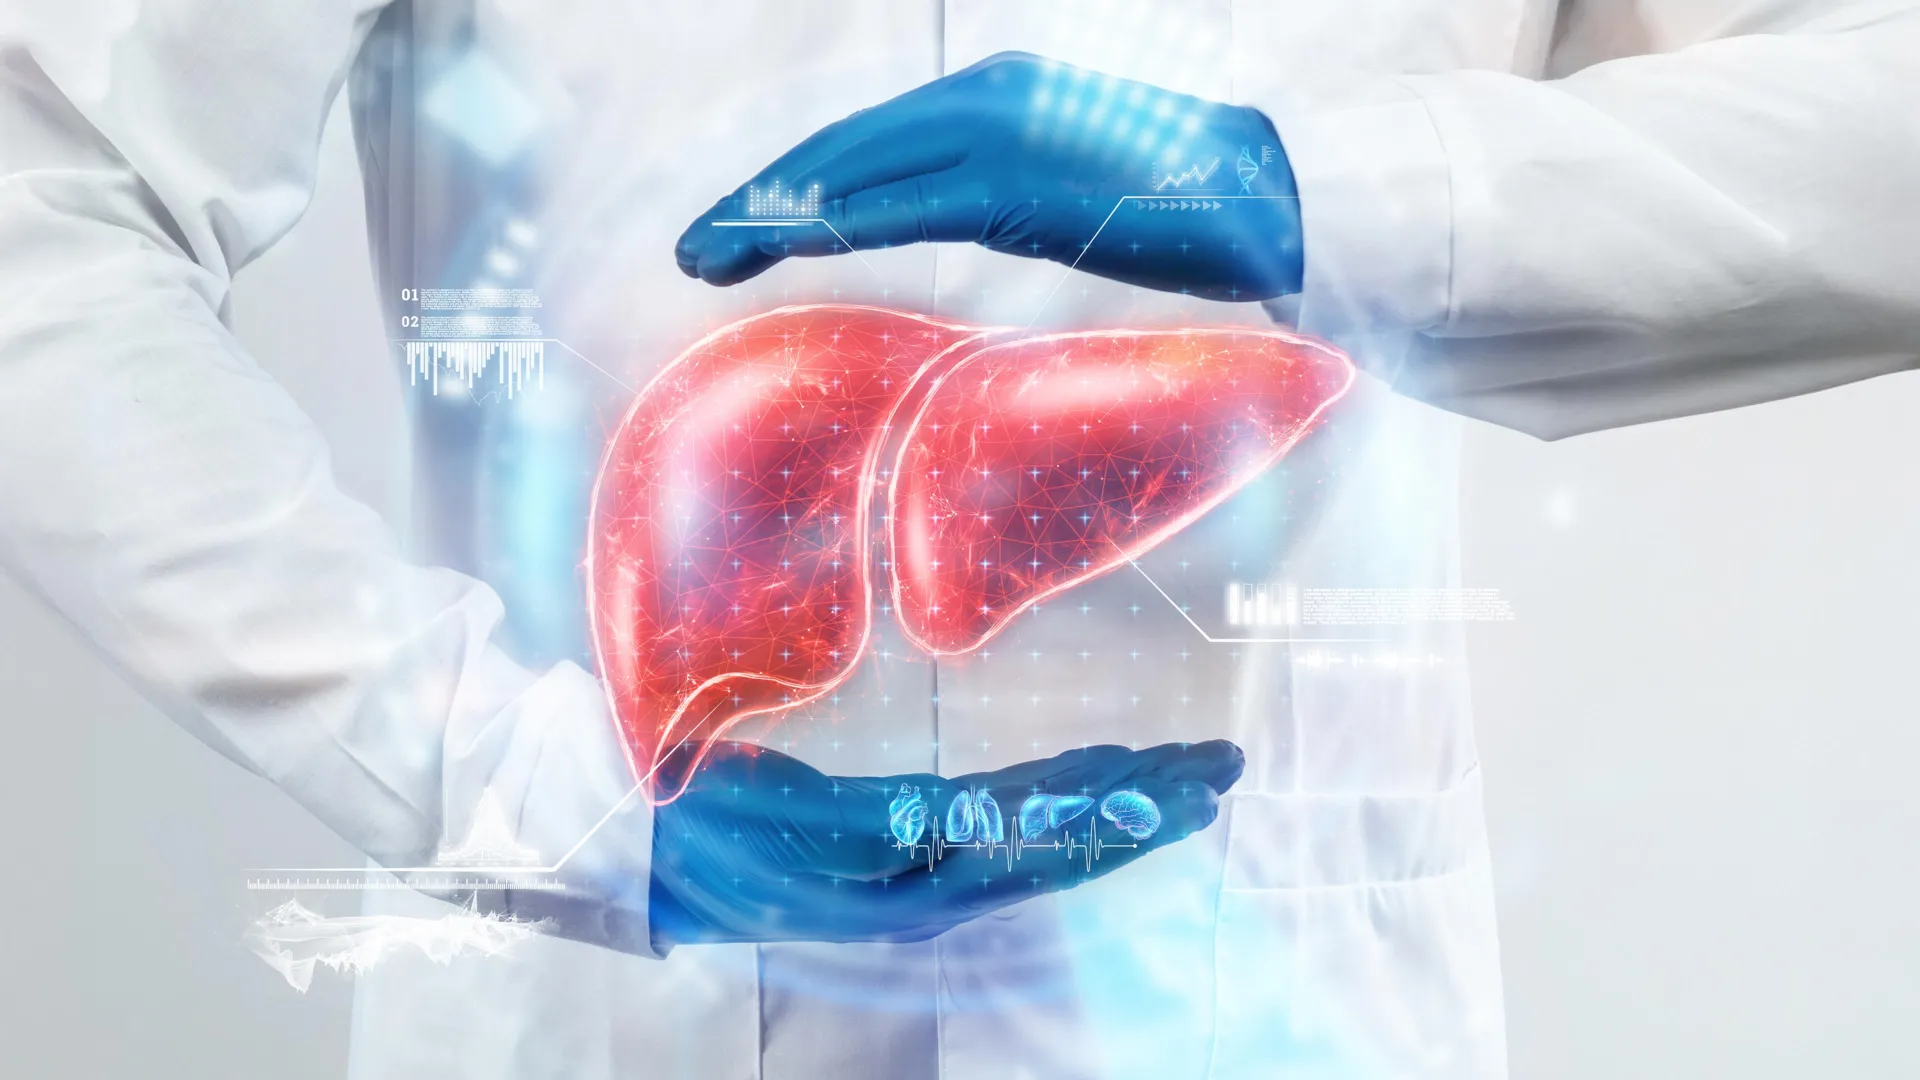
Imagine being able to rewind the clock on liver aging—not by surgery or drugs, but by restoring the gut microbiome to a youthful state. A groundbreaking study on mice, published in a leading journal, demonstrated exactly that. By reinfusing older mice with their own preserved young gut bacteria, researchers observed reduced inflammation, less DNA damage, and no signs of liver cancer. The treatment also suppressed the cancer-linked gene MDM2, making the biological age of the older mice resemble that of younger ones. This guide outlines the step-by-step approach used in the study, providing a replicable framework for future research. Whether you are a scientist seeking to replicate these findings or a science enthusiast curious about the process, this protocol lays out the key stages—from microbiome collection to final analysis.
What You Need
- Laboratory mice: Young (6-8 weeks old) and old (18-24 months old) mice, preferably from the same genetic background.
- Fecal collection tools: Sterile forceps, collection tubes, and a -80°C freezer for preserving samples.
- Gut microbiome preservation kit: Cryoprotectant solution (e.g., 20% glycerol in PBS) to maintain bacterial viability.
- Oral gavage needles: Flexible, ball-tipped needles attached to syringes for administering bacteria.
- Antibiotic cocktail: Broad-spectrum antibiotics (e.g., ampicillin, neomycin, vancomycin) to clear existing gut microbiota before transplantation.
- DNA extraction and PCR reagents: For 16S rRNA sequencing to verify microbiome composition.
- Liver tissue analysis tools: Histology slides, hematoxylin-eosin stain, and antibodies for MDM2 detection (e.g., immunohistochemistry).
- Data analysis software: Statistical packages (e.g., R or GraphPad) for comparing inflammation markers and gene expression.
Step-by-Step Protocol
Step 1: Collect and Preserve Fecal Samples from Young Mice
Begin by obtaining fresh fecal pellets from healthy young mice (6-8 weeks old). Use sterile forceps to collect at least 2-3 pellets per mouse, placing them directly into a sterile tube. Immediately add 1 mL of cryoprotectant solution (20% glycerol in PBS) per pellet, seal the tube, and flash-freeze in liquid nitrogen before storing at -80°C. This preserves the viability of the bacterial cells. It is critical to use aseptic technique to avoid contamination. The young microbiome serves as the “youthful essence” that will later be transplanted.
Step 2: Prepare Young Microbiome for Transplantation
When ready to proceed, thaw the frozen fecal samples on ice. Pool pellets from several young mice to ensure microbial diversity. Homogenize them in sterile PBS (1 mL per pellet) using a vortex or bead beater. Pass the slurry through a 70-μm filter to remove large debris. Centrifuge at 500g for 10 minutes at 4°C, discard the supernatant, and resuspend the pellet in sterile PBS to a final concentration of 10^8 bacterial cells per mL (check by spectrophotometer at OD600). This suspension is the young gut bacteria solution. Keep it on ice and use within 2 hours.
Step 3: Deplete the Older Mice’s Native Gut Microbiome
To ensure successful engraftment of young bacteria, you must first clear the existing gut microbiome of the older mice (18-24 months old). Administer a broad-spectrum antibiotic cocktail via drinking water for 3 consecutive days. Use ampicillin (1 g/L), neomycin (0.5 g/L), and vancomycin (0.25 g/L) dissolved in sterile water, with fresh solution provided daily. Alternatively, administer the cocktail twice daily by oral gavage (200 μL per 20 g body weight). After 3 days, confirm depletion by collecting a fecal sample and performing routine aerobic and anaerobic culture—no growth should be observed. This step essentially creates a blank slate for the young bacteria to colonize.
Step 4: Transplant the Young Gut Bacteria into Older Mice
On day 4, administer the young bacteria solution to the older mice via oral gavage. Use a flexible 20-gauge gavage needle attached to a 1 mL syringe. Gently restrain the mouse, insert the needle into the esophagus, and slowly inject 200 μL of the bacterial suspension (approximately 2×10^7 cells) daily for 7 consecutive days. After each gavage, monitor the mice for signs of stress (e.g., labored breathing, lethargy) and resume normal feeding and watering. This recolonization step mimics the natural microbiome restoration seen in younger animals.
Step 5: Monitor Liver Health Over Time
Wait 4–8 weeks after the final gavage to allow the microbiome to stabilize and exert its effects. Then, sacrifice the mice humanely and harvest liver tissues. For each mouse, collect sections from the left and right lobes. Use histology (H&E staining) to assess inflammation and fibrosis. Additionally, perform immunohistochemistry to detect MDM2 expression levels. Record the number of inflammatory foci, the presence of DNA damage markers (e.g., γH2AX), and any macroscopic tumors. Compare these data with a control group of older mice that received a placebo (e.g., PBS with no bacteria). The expected outcome is reduced inflammation, lower DNA damage, and suppressed MDM2 in the treatment group.
Step 6: Analyze and Interpret the Results
Compile the data and run statistical tests (e.g., Mann-Whitney U test for nonparametric data). If the treatment group shows a significant decrease in liver inflammation (p < 0.05), a reduction in MDM2 expression, and an absence of liver cancer, then you have successfully replicated the study’s findings. Additional validation can include 16S rRNA sequencing of fecal samples to confirm that the young microbiome remains dominantly present. The key takeaway: a youthful gut microbiome can reverse liver aging, even in old mice.
Tips for Success
- Use age-matched controls: Always include a group of old mice that receive no bacteria (or heat-killed bacteria) to ensure any observed effect is due to living young microbes.
- Maintain microbiome stability: After transplantation, house mice in sterile cages with autoclaved bedding to prevent reintroduction of environmental bacteria.
- Monitor weight and health: Weight loss or diarrhea may indicate improper gavage technique or bacterial overgrowth—if seen, reduce dose volume by half.
- Consider the young mouse donor age: Younger donors (e.g., 4–6 weeks) may yield stronger anti-aging effects. Pilot a range of ages if possible.
- Check for unintended effects: Gut bacteria can influence other organs—preliminary screening of heart and kidney tissues is recommended.
- Document everything: Keep meticulous records of sample handling, antibiotic batches, and gavage dates to ensure reproducibility.
By following this step-by-step protocol, you can potentially unlock the rejuvenating power of the gut microbiome. The study’s success in mice paves the way for future human trials—perhaps one day, a simple “fecal reboot” could keep our livers young forever.
Related Articles
- Breaking the Memory Barrier: How State-Space Models Enhance Video World Models
- Pentagon Releases 162 UFO Files on New Government Portal; Most Remain Heavily Redacted
- Exodus Alert: 1 in 7 Teachers Won't Return in Fall – Here's Why
- The Tiny Wall-Dwelling Spider Named After Pink Floyd: A Fierce Predator and Pest Controller
- Skywatching in May 2026: 10 Celestial Events You Can't Miss
- Mass Dismissal of NSF Board Shakes U.S. Scientific Leadership
- Xenonauts 2: Commanding a Fractured Alliance in an Endless Cold War
- Quantum Teleportation Breakthrough: Photon State Transferred Across 270 Meters Between Quantum Dots